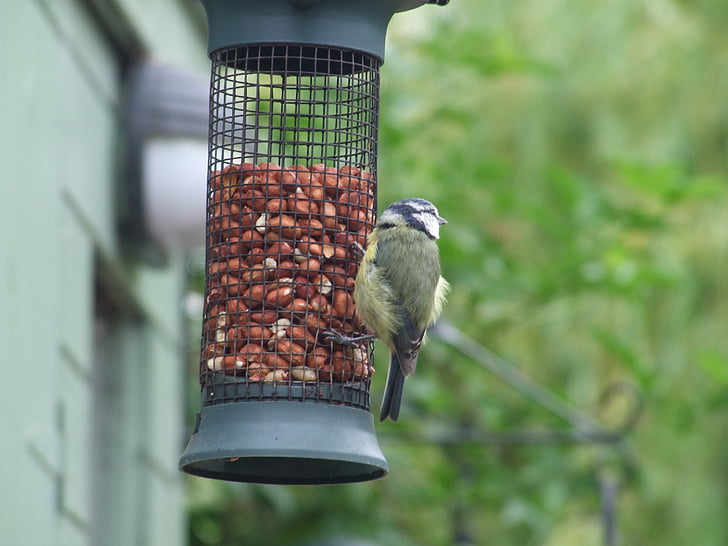
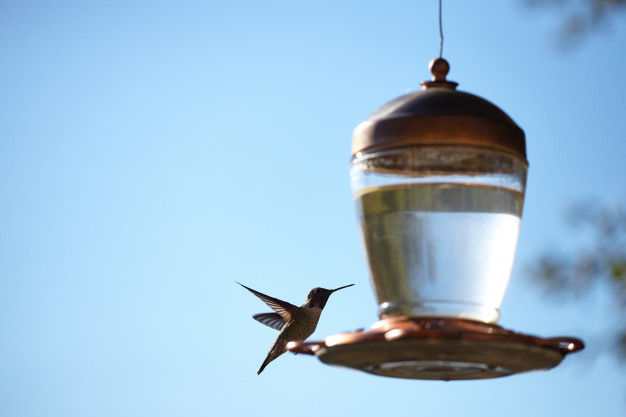
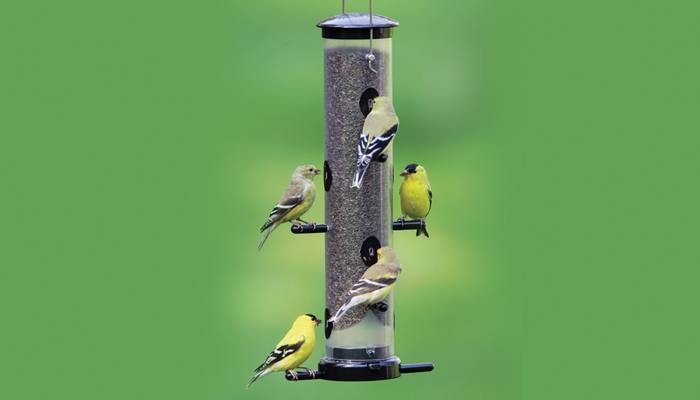
 These bird feeder plans will show you how to make your own bird feeder. A basic bird feeder needs to be no more complicated than a bird table. All the birds are interested in is a safe place to eat their food, with a bit of shelter from the elements and some protection.
When you are constructing your bird feeder, make sure you use wood that has been treated to prevent it splitting or rotting when it gets wet. Consider using something like exterior grade plywood, preferably from a sustainable source. Wood with a thickness of 0.5 to 1 centimeter is ideal.
Any piece of solid timber makes an excellent bird table feeder. There is no maximum size, but don’t make the table too small or the birds will fight for room and the smaller birds will be kept away. A piece which measures 30cm x 50cm will be about right.
You should fix a rim about 1 cm high around the edge. This will help stop the bird food from falling or being knocked or blown off. It’s a good idea to leave gaps at the corners to allow rain to drain away and to make cleaning easy.
Before you assemble the pieces, sand them smooth to remove crevices that can hold dirt and disease. It is best to leave the table itself untreated. If it must be treated to prolong its life, use a selected water-based preservative such as Fenceguard or Sadolin and make sure that it is completely dry before use.
Another tip is to put a few nails or hooks in the edges of the table. These will be useful for hanging out nut or seed feeders or fat balls.
If you’re up to it you can put a roof on your bird feeding table. This is great for offering some protection to feeding birds from the rain, snow and hunting sparrowhawks. You might find that some birds may even roost at night on a table with a roof. It also provides a dry place for seed hoppers and nut containers. Be careful though, as a roof can sometimes deter the more shy and larger birds from visiting. In most cases an open table is really just as good.


